| Making a cable for interconnecting GRC9 <--> RT77 | |
| One of the GRC's that came
to me, had been owned by someone who mislaid the interconnecting
cable. As one won't find these on one's regular street corner, I had
to make one myself.
Problems arising when making the two necessary plugs, is to take measures. Of course they are made on an inch scale and working with inches is not one of my skills. Than there is the fact that the sockets are lying deep in the chassis, so it is difficult to reach with the callipers. So some improvising is needed. Looking around in "ye ol' junke boxe" I came up with some material I could use. |
|
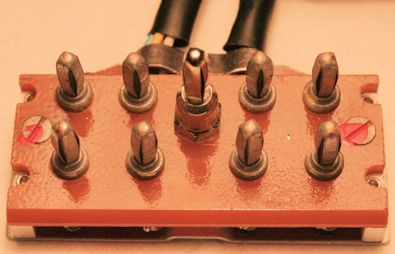 |
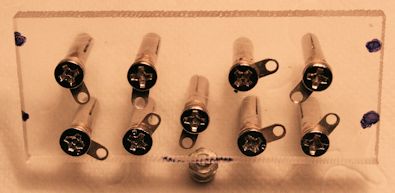
This is what is needed, twice. The middle pin is standing higher than the others. |
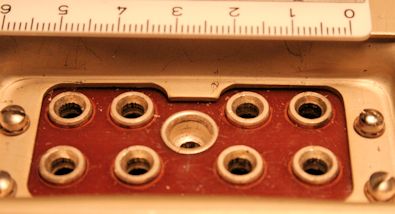 |
The socket. The pin holes are 4,16 mm in diameter. Another problem when living in a metric country. I could only find round material of 4 mm. |
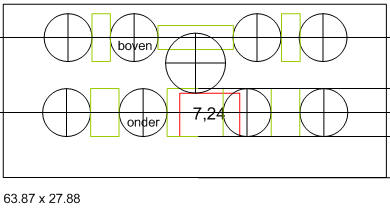 |
I made a drawing where I measured all
items, so the pin holes and the spaces in between. I made the
drawing in MS Visio. This program uses shapes like circles and
squares and one can input the sizes in a command box. Than aligning
the shapes, one ends up with a pretty close matching drawing. After printing, one can stick this drawing on a piece of Plexiglas or other material of choice. |
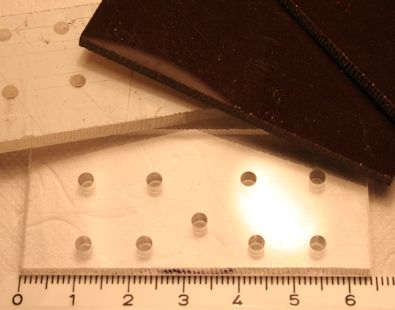 |
Four sheets of plastic are needed: two
for the pins, two for the back. Sawing four at a time gives equal
sizes. When drilling do the same: two, stick together at the same time. So you end up with two exactly the same pieces. Drilled right or drilled wrong...... |
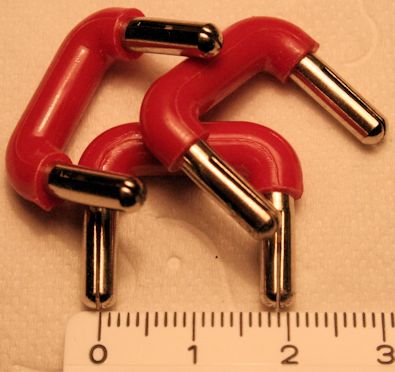 |
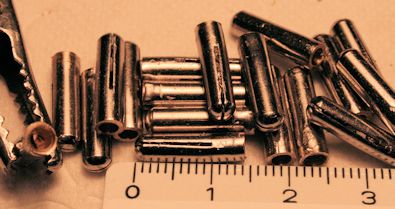
I found these shorts and wanted to use
these for the pins. I removed the plastic and sawed of the pins. Nine shorts gave eighteen pins. By increasing the split just a little, they fit well. |
 |
Than in the lath for cutting, centring, drilling and tapping. |
 |
Pins mounted in the Plexiglas. |
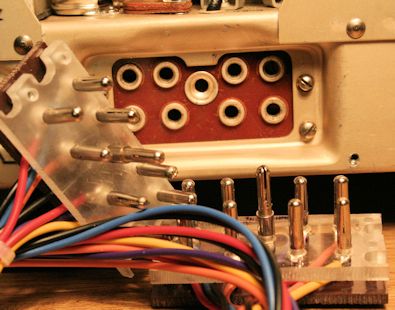 |
Cable mounted on the plugs. Wiring is one to one. And surprise: it works! |